Friday, May 31, 2013

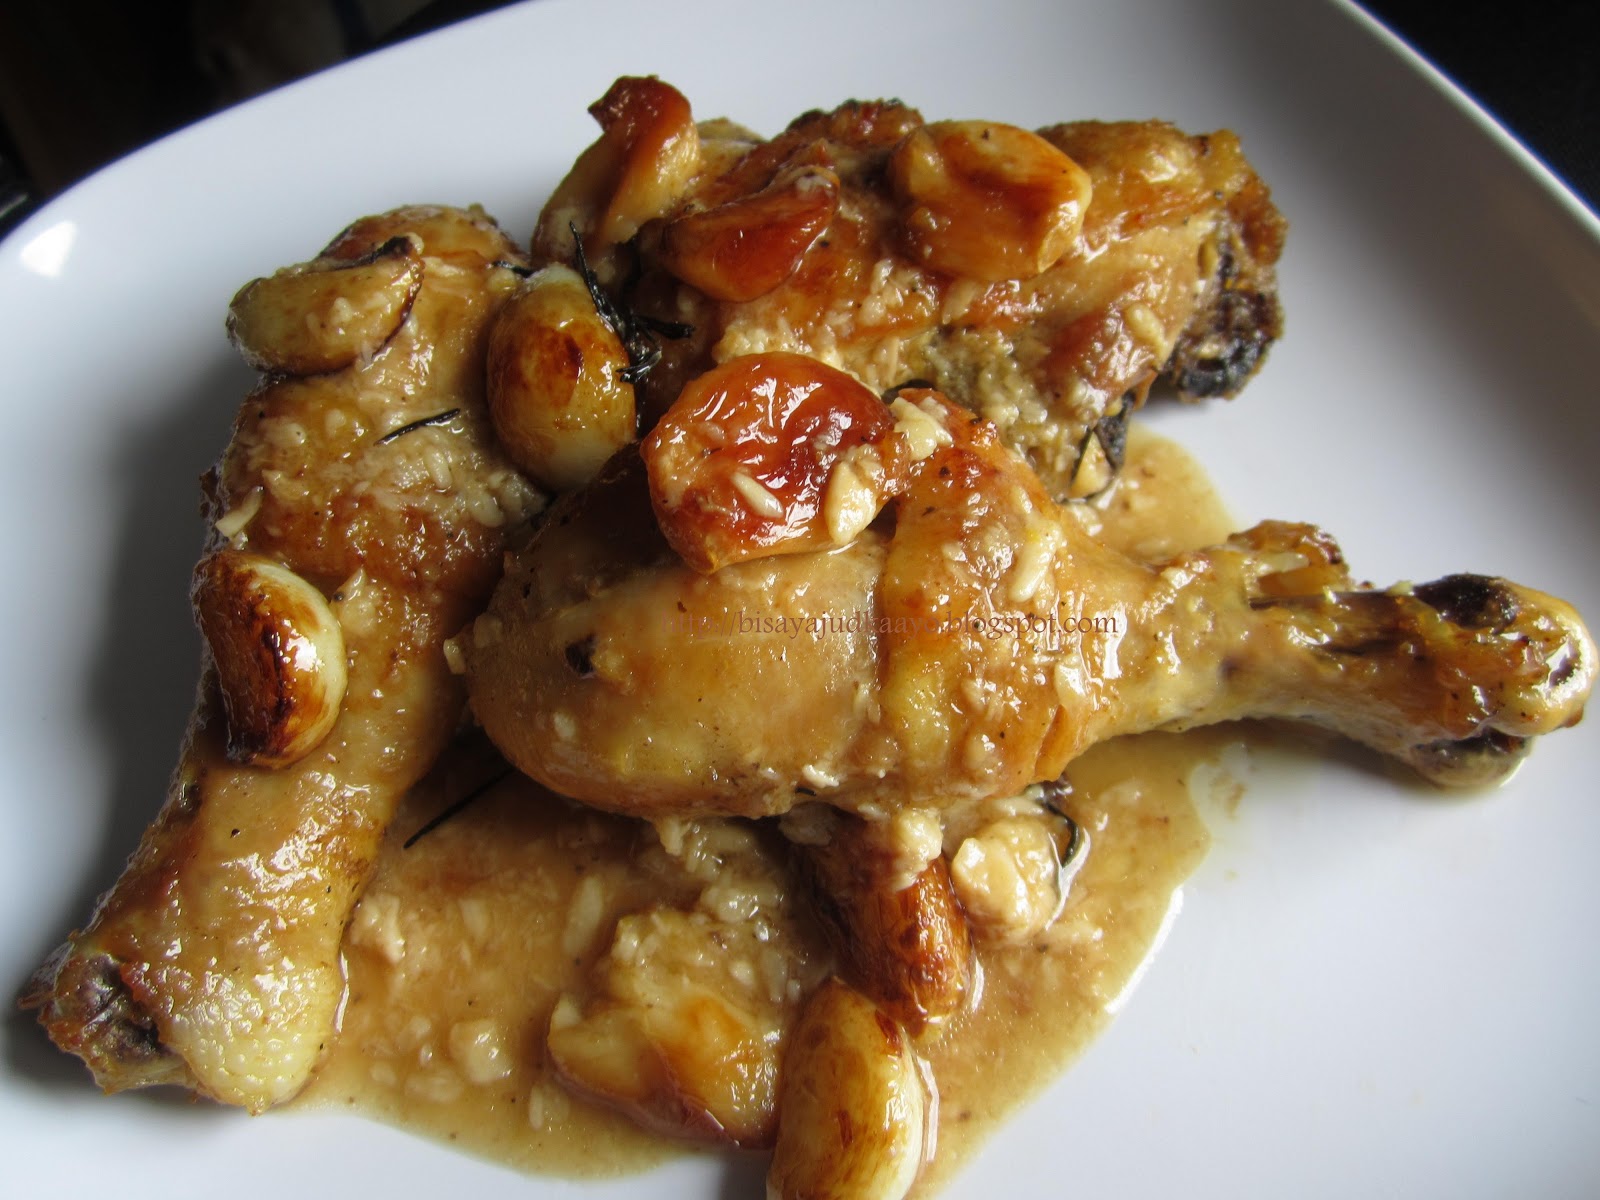
CHICKEN WITH FORTY CLOVES OF GARLIC


Don't worry or be intimidated by the copious amount of garlic. Once roasted, garlic imparted a nutty, buttery flavor. I promise you that!!! ;)
Chicken was juicy, moist and tender.
Definitely a keeper, this will easily be one of my comfort food.
Served with rice (because i'm Filipino...hahaha) but i know slices of baguette will be perfect to absorb those sauce or spread those roasted garlic like butter.

Recipe adapted from Williams-Sonoma.  Check out the recipe CHICKEN WITH 40 GARLIC CLOVES

"Don't be alarmed by the number of garlic cloves called for in this recipe. The garlic mellows as it roasts, imbuing the finished sauce with a subtle flavor."

Ingredients:

  • 2 chickens, each 4 lb., cut into 8 serving pieces (used 5 lbs. of leg quarters)
  • Salt and freshly ground pepper, to taste (season liberally)
  • 3 Tbs. extra-virgin olive oil
  • 40 garlic cloves, peeled
  • 1 Tbs. minced fresh rosemary
  • 1 Tbs. minced fresh thyme
  • Zest of 2 lemons
  • 1/4 cup white wine (used pinot grigio)
  • 3/4 cup chicken stock
  • 3 Tbs. unsalted butter, at room
    temperature, cut into pieces

Directions:

Preheat an oven to 400°F.

Season the chicken with salt and pepper. In a wide Dutch oven over medium-high heat, warm the olive oil. Working in batches, brown the chicken, 2 to 3 minutes per side. Transfer to a plate.

Add the garlic to the pan and cook, stirring, for 1 minute. Remove the pan from the heat. Add the chicken, rosemary, thyme and lemon zest and stir to combine. Cover the pan, transfer to the oven and roast for 20 minutes. Baste the chicken with the accumulated juices. Continue roasting, uncovered, until the chicken is cooked through and the juices run clear when the meat is pierced with a knife, about 30 minutes more.

Transfer the chicken to a platter; leave the garlic in the pan. Cover the chicken loosely with aluminum foil.

Set the pan over medium heat and mash the garlic with the back of a spoon. Add the wine and cook for 3 minutes. Add the stock and cook, stirring occasionally, until slightly thickened, about 5 minutes. Whisk in the butter a few pieces at a time. Season with salt and pepper. Transfer the sauce to a sauce boat. Serve the chicken immediately and pass the sauce alongside. Serves 8.

Williams-Sonoma Kitchen.


 To save time peeling 40 cloves, i bought already peeled garlic.
I buy those small bottles of wine for cooking purposes
.


Remove chicken, continue cooking the garlic (took out some for garnish) add the wine, water or chicken stock (add more if needed). Taste and adjust seasonings. Whisk in butter until sauce thickens.


Served sans the sauce, it was good too. 


Roasted garlic imparted a nutty, buttery flavor.
Chicken was juicy and tender.
Definitely a keeper.


Tuesday, May 28, 2013

FILIPINO LECHON, KIMCHI TACO

So, basically this can also be called a kitchen sink dish since i have all the ingredients ready and available, just waiting to be used. But, kitchen sink doesn't sound appetizing hence the name Filipino Lechon Kimchi Taco.
 

Ingredients:
Filipino Lechon - I have the whole roasted pigs' head in the freezer from our Thanksgiving celebration. Pig Roast

Kimchi - Homemade yes ..... i do make my own.
Ramp pesto - i made them last month and froze some for future use. Recipe to follow
 
Onions - i had red onions, but you can use any kind of onion.
 
Cilantro - happened to make guac last week so i had some cilantro left
 
Sriracha Aioli - just mixed sriracha sauce and mayo
 
Corn Tortilla - i had some left over when i made the guacamole. Yes, i fry my own corn chips, given the time. Fry your own
 
 "An amalgamation of delicious flavor" Will definitely make this again. I'm thinking of roasted chicken, i know it'll taste as good.


slather a spoon or two of pesto


Then add kimchi, depends on how much you want


Add chopped lechon w/c was broiled quickly just to crisp up the skins


Garnish with thinly sliced onions, red radish cilantro and sriracha aioli


Not for the faint of heart...... made some sisig out of this as well. Will blog my sisig taco next ;)


Saturday, March 2, 2013

Apple Crisp a la mode


One of my favorite fall dessert. Well, actually all year round. This is not your regular crisp recipe, i experimented on some ingredients which i think will add more flavor to the crisp. Well....I'm happy to tell you that this was a success! If you like caramel and apple jam....then you should give this a try!


Ingredients:

4 medium apple, sliced (I used apples that we picked from our Apple picking adventure)***
1/4 C caramel (I melted 1/2 a bag of 14 oz Kraft Caramel) i had some left overs.
1/2 C homemade apple jam or store bought
3/4 C packed light brown sugar
1/2 C self rising flour or All purpose flour
1/2 C Old fashioned oats
8 T butter (one stick)
3/4 t cinnamon

Heat oven to 365 degrees F.

Grease bottom and sides of a baking pan with butter.

Arrange sliced apples in baking pan.

To melt the caramel, follow the caramel package instructions.

Mix together melted caramel and apple jam.

Pour the caramel/jam mixture into the baking pan making sure to spread it all over the arranged apple slices
.
In a bowl, using your hands, mix and stir brown sugar, flour, oats, cinnamon and softened butter until it forms pea size lump.

Sprinkle over apples.

Bake about 45 minutes or until topping is golden brown and bubbling.

Serve warm with ice cream or whip cream.


Used different varieties from our apple picking.


Thursday, February 28, 2013

NO SEW DISNEY PRINCESS FLEECE BLANKET

This is so neat and by saying neat i mean "cool" idea and neat/clean border. I have made no sew blanket before using the "tie a knot" method which is good but this "looping" method is way better. Thanks to Barb of A Chelsea Morning for the tutorial. Check her blog HERE for the tutorials.

I chose the Disney Princess pattern to match the Disney Princess Headbands i made for my great-niece. Check out my blog HERE .
 
Materials needed:

2 - 2 yards of no fray fleece fabric-  one patterned fleece and another one solid color to match your patterned fabric **
Ruler
Scissors for fabric ( must be sharp)
 
** You'll probably need 1 5/8 yards for a kid but I want extra fabric as allowance should you make a mistake.
*** I made this while watching a TV show...... yes it is that easy.


I made this for my adorable, beautiful great-niece ;)


Front of the blanket. Take note on how neat the knots are. 


The back side of the blanket, still look so neat ;)


Loop the strands together


Then pull the "strands" as neatly and tight as you can to make a uniform, clean border.


Saturday, February 16, 2013

DISNEY PRINCESS HEADBANDS


Love, love this project!!!!! A perfect gift for little girls. A wonderful project to use the spools of ribbons i have had through the years.

I got the inspiration from Kathleen of Grosgrainfabulous.blogspot.com . Check out her blog for detailed tutorials. Thanks for the tutorial Kathleen!

Really enjoyed making these cute ribbon/headbands. I got excited and so inspired, i made the project right away and finished 20 headbands in a week's time. I made two per character. One for my great-niece and the "twin" for my sister-in-law's daughters who happened to love Disney princesses.

Once i learned the basic structure, i made my own interpretation and used the ribbons i have available.

What you'll need:

Spools of ribbon - basic colors/Disney colors
Glue gun/glue sticks
Fabric glue
Anti-fray glue - I have been using clear nail polish and it works perfectly
Scissors
Needle and thread - you'll need it especially for Belle and Aurora's "skirt"
Headbands
Sequins beads - optional
Chopstick - you need it to curl ribbons*

* I experimented on other ways to curl a ribbon aside from using the oven. First, i tried hair gel, it worked but i didn't get the curly effect i wanted. Then i tried spraying the ribbons with water then place it around the stick, clip both ends and gingerly iron it and it worked!!!


Thank you to my beautiful model......my great-niece. She is so adorable!!!
And to my sister for patiently taking these beautiful pictures. Good job, Nang!!!!
 
 
Snow White


Pocahontas


 Tinker Bell ( fairy)


Jasmine


Belle (I didn't have brown for her hair)


Ariel


Mulan


Aurora (Sleeping Beauty)


Cinderella


Rapunzel/Tangled