Showing posts with label DIY. Show all posts

Sunday, June 30, 2013

SMALL SPACE GARDENING

Want to have a garden but you don't have a space? Not a problem....Pallet, pots, soil and plants....the solution to make your own small space garden.

I have seen blogs about vertical gardening or small space gardening, the use of pallet is the best and unique idea in my opinion. Pallets are inexpensive some bloggers suggested that you can ask them from Lowe's or Home Depot since they discard them anyways. I got mine from my husbands' work for free.

You'll need the following to make this vertical garden.

Pallets or pallet - free
Pots - i bought these plastic pots from Lowe's for .98 cents each. (about $8)
Bungee cords - bought them at the dollar store for $1/bag (5 bags, about $6)
1 bag of garden soil - i bought Miracle Gro brand ($3.88)
Plants - $2 /6 small cells ( about $4)

I spent around $25 for this project. Not bad at all ;)


My petunias


My herbs- basil, from the stalks that i saved when i made tomato basil soup, micro greens, parsley, thyme and another basil. I have yet to add more herbs.


Saturday, February 16, 2013

DISNEY PRINCESS HEADBANDS


Love, love this project!!!!! A perfect gift for little girls. A wonderful project to use the spools of ribbons i have had through the years.

I got the inspiration from Kathleen of Grosgrainfabulous.blogspot.com . Check out her blog for detailed tutorials. Thanks for the tutorial Kathleen!

Really enjoyed making these cute ribbon/headbands. I got excited and so inspired, i made the project right away and finished 20 headbands in a week's time. I made two per character. One for my great-niece and the "twin" for my sister-in-law's daughters who happened to love Disney princesses.

Once i learned the basic structure, i made my own interpretation and used the ribbons i have available.

What you'll need:

Spools of ribbon - basic colors/Disney colors
Glue gun/glue sticks
Fabric glue
Anti-fray glue - I have been using clear nail polish and it works perfectly
Scissors
Needle and thread - you'll need it especially for Belle and Aurora's "skirt"
Headbands
Sequins beads - optional
Chopstick - you need it to curl ribbons*

* I experimented on other ways to curl a ribbon aside from using the oven. First, i tried hair gel, it worked but i didn't get the curly effect i wanted. Then i tried spraying the ribbons with water then place it around the stick, clip both ends and gingerly iron it and it worked!!!


Thank you to my beautiful model......my great-niece. She is so adorable!!!
And to my sister for patiently taking these beautiful pictures. Good job, Nang!!!!
 
 
Snow White


Pocahontas


 Tinker Bell ( fairy)


Jasmine


Belle (I didn't have brown for her hair)


Ariel


Mulan


Aurora (Sleeping Beauty)


Cinderella


Rapunzel/Tangled


Friday, July 20, 2012

DIY BEACH WRAP

 
A pinterest project by Auna caught my attention. What a great project for my daughter! I fell in love with the project (i kid you not!). What is there not to love? It's cute, practical and so easy. No sewing machine needed...oh yes!!

Okay i take my word back, it wasn't so easy on my part. I don't know anything about measuring a "dress" let alone making this sans my daughter to actually measure. I had to base and follow Auna's measurement thinking that my daughter will fit into her measurements. Oh, i did asked a co-worker of mine to try it on so i will get an idea, where i need to adjust or fix.


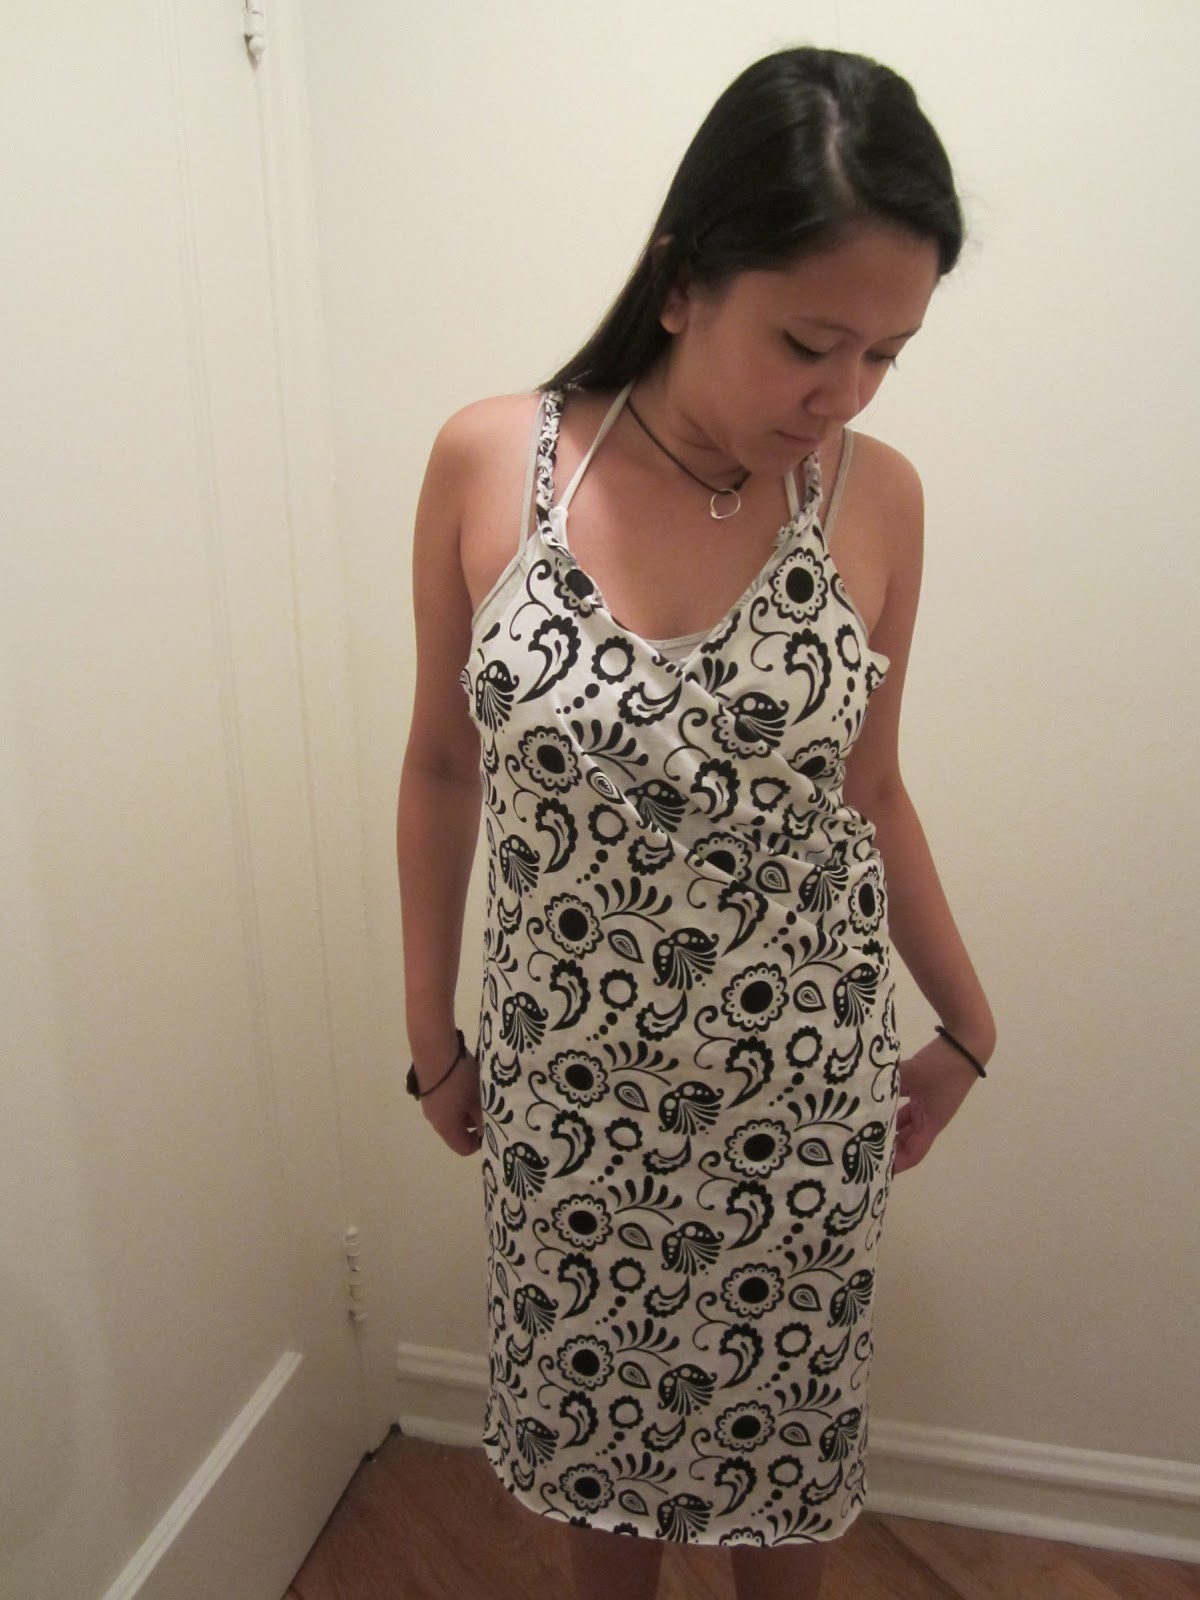
Went to visit my daughter in Chicago, finally, she tried on my beach wrap and modeled it. The adjustments i had to make were the straps, it was too long on her. She wanted the length (above her knees) shorter as well but other than that.... it fit her to a Tee! ;)

I had extra fabric so i made her a headband to match the wrap. Of course i got the idea from pinterest!!! that'll be my next blog!

 I will be making another one, this time plain black. I bought this fabric on sale,thinking that if i didn't cut them right, i will not waste that much.


I love it... really love it! hahaha!!! 


The back view.


Materials you will need:

1 1/2 yards of jersey fabric (45 width). Cut down Auna's suggestion (1.75 yards) since she said she had so much extra fabric.
Thread
Needle
Tape measure
Scissors


*JERSEY FABRIC IS RECOMMENDED, IT DOESN'T FRAY, NO NEED TO SEW OR HEM THE EDGES.
* THE JERSEY FABRIC I BOUGHT WAS ON SALE FOR $4/YARD. I SPENT A TOTAL OF $8 INCLUDING TAX.


"Decide the length & width of your fabric. You want it to wrap around your body a bit loosely. I chose to have mine hit just above my knees. You'll also need to make underarm areas. I did that by folding it in half and cutting a deep "C". (*you may need more or less fabric depending on your size- about your waist + hip measurement)" ....AUNA


Cut: Underarm area - Fold fabric in half and cut a deep "C" shape. I suggest to measure the underarm area or use a tank top blouse as your guide.


 Use a tank top as a guide and measure to play safe.
This worked for me since she was not around when i made this.


 Use the extra fabric for your straps.


Measure the width and divide into three equal strips. Then braid.


THE NEXT THREE PHOTOS ARE FROM ANOTHER BEACH WRAP I MADE.
Sew the ends of the strap. Anchor a tip of the "strap" so you can make a good braid.


 Sew both ends to secure the braids you made.


Sew and attach the straps to the C cut (underarm)


Saturday, June 23, 2012

BOW PAPER CLIP BOOKMARKS

Got the idea from  How About Orange. These pretty little bookmarks were my 2011 Christmas gift stuffer. I used materials that i already have. Instead of fabrics, i used ribbons for the bow and i used those generic jumbo paper clips that were just waiting to be used.


 These are the things you will need. Not in the picture...glue gun.

4 1/2 inches of the wide ribbon and 2 inches for the thin ribbon .
Make a bow. Gather the middle part and sew it to secure the ends of the ribbon.
Wrap the bow and attach it to the paper clip. Sew to secure making sure it is tight enough.
Follow w/ a glue gun to make sure it is secured and attached tightly to the paper clip.


A few of what i made ;)


Aren't they cute?


Tuesday, June 12, 2012

D.I.Y. Headbands


 Made these for a co-worker's birthday who loves bows and headbands. These are so easy to make, all you need are ribbons, buttons, store bought undecorated headbands, arts and craft gadgets/tools and glue gun. Oh and your creativity "juice" hahaha!

First headband.


You decide on the size of the ribbon/bow. Just make sure that the top ribbon will be an inch shorter than the bottom ribbon. Also cut an inch and a half of a ribbon to wrap and secure your bows. Glue gun the bows to the headband.


Nice.... ;)


Cute