Tuesday, September 11, 2012

TACOS DE POLLO EN SALSA VERDE

 My daughter shared this recipe years ago but never got the chance to blog it. This is one of my family's favorite Latin dish. My BIL had rice with this, not surprised about that, we Filipinos love our rice ;) I like mine with fried corn tortilla chips, no not the store bought. I fry my own corn tortillas.

Tortilla is recommended but when i made this as shown below, i used fried pita bread which is as good as the tortilla.

 Ingredients:

Salsa:
8 oz Tomatillos, husked and rinsed
2 Serrano chiles, stemmed ( You can also use jalapeno)
1 1/2 T olive oil or canola oil
1 medium Spanish onion, coarsely chopped (any sweet onions will do)
2 cloves garlic, coarsely chopped
1 C Chicken stock or broth****
1/4 C cilantro, coarsely chopped
Salt to taste

2 C firmly packed spinach, shredded or 1 bag of spinach
2 C cooked chicken breast ****
1/2 - 3/4 C Queso Fresco, crumbled (I've tried feta and it was equally as good or omit the cheese)

Corn Tortillas - cut in bite sizes and fried.

***I boiled the chicken with water, carrots, onions, celery to get my chicken stock.

Roast tomatillos, chiles , garlic and onions under a broiler until blackened and soft on both sides.

Transfer, along with any rendered juices to a blender.

Puree to medium coarse consistency.

Heat saute pan, add oil and puree. Saute, stirring, until puree gets slightly darker and thicker.

Stir in stock and simmer about 10 minutes. Add cilantro and season with salt.

Just before serving, bring salsa to a boil , add spinach and allow to wilt.

Adjust seasoning as needed.

Add chicken to the salsa or served separately.

Serve with tortillas topped with queso fresco,


I used pita bread. Cut the bread into bite sizes and fry them.


Pita bread is as good as the tortillas.


Cut them into bite sizes and fry.. You could use flour tortilla but i prefer corn tortilla


Yum!!


Saturday, July 21, 2012

DIY BRAIDED HEADBAND

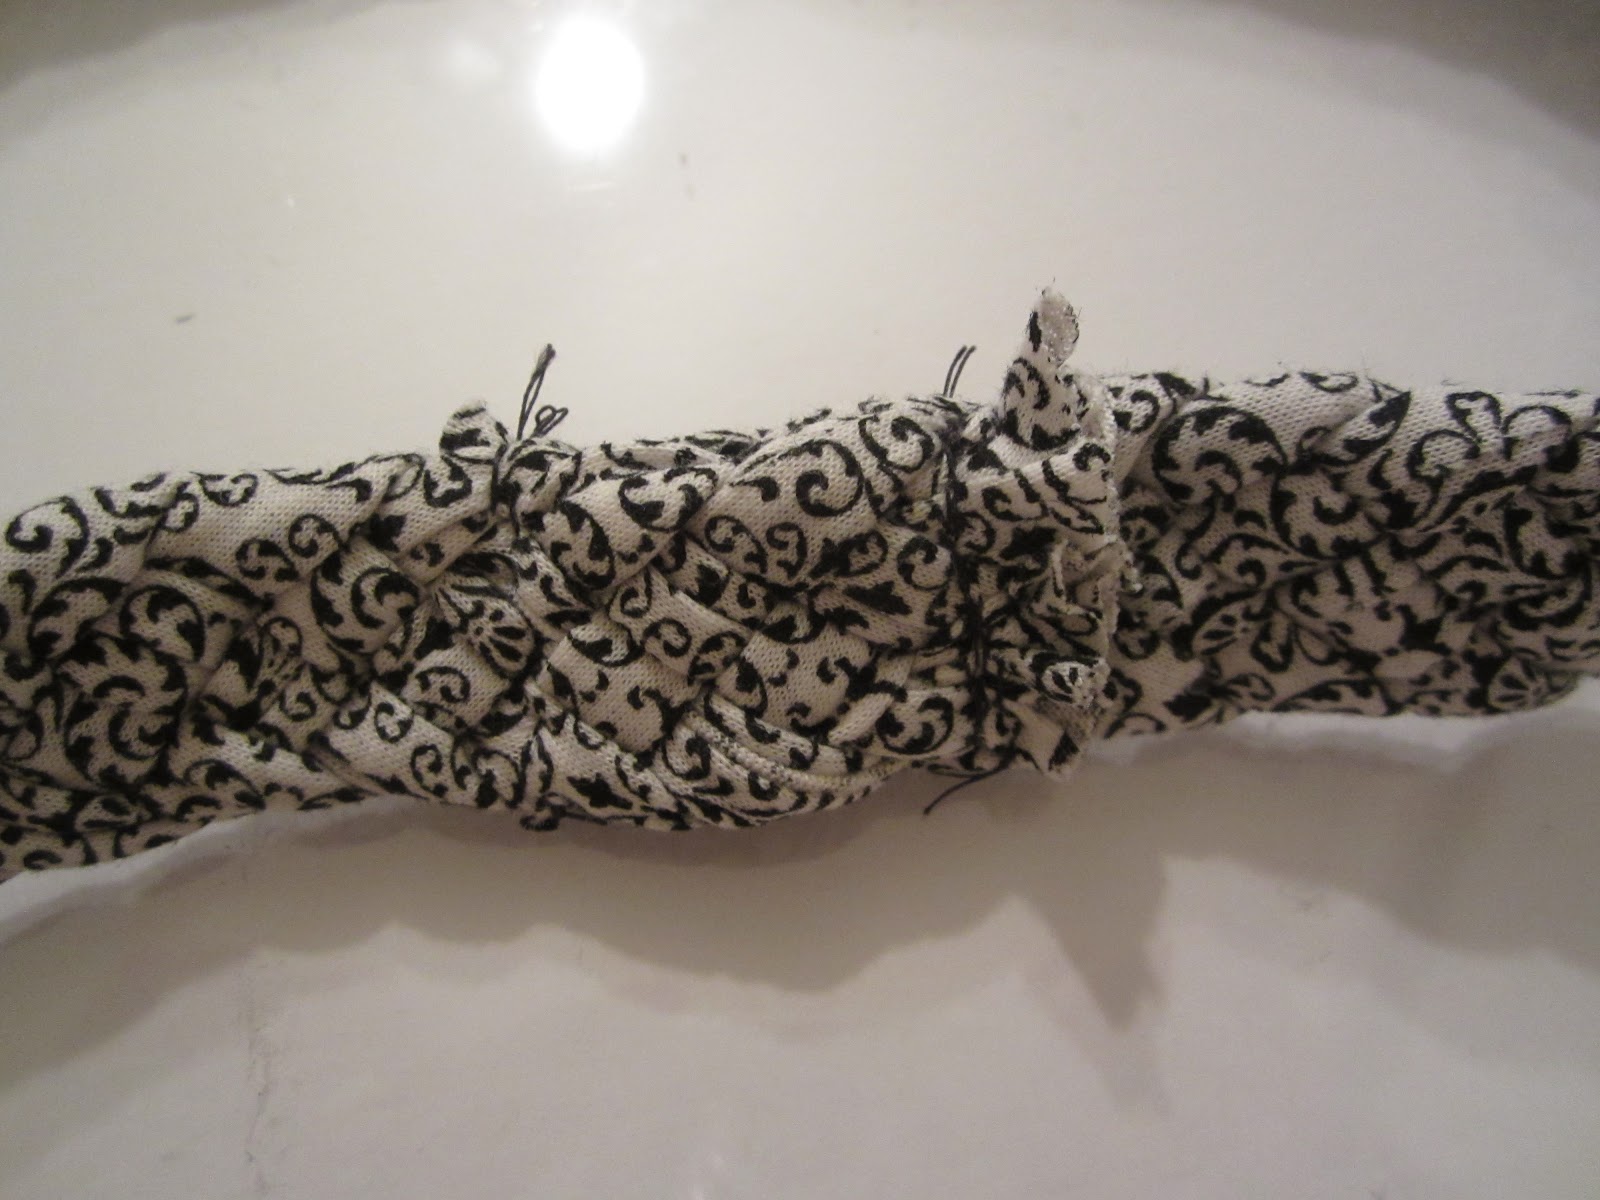
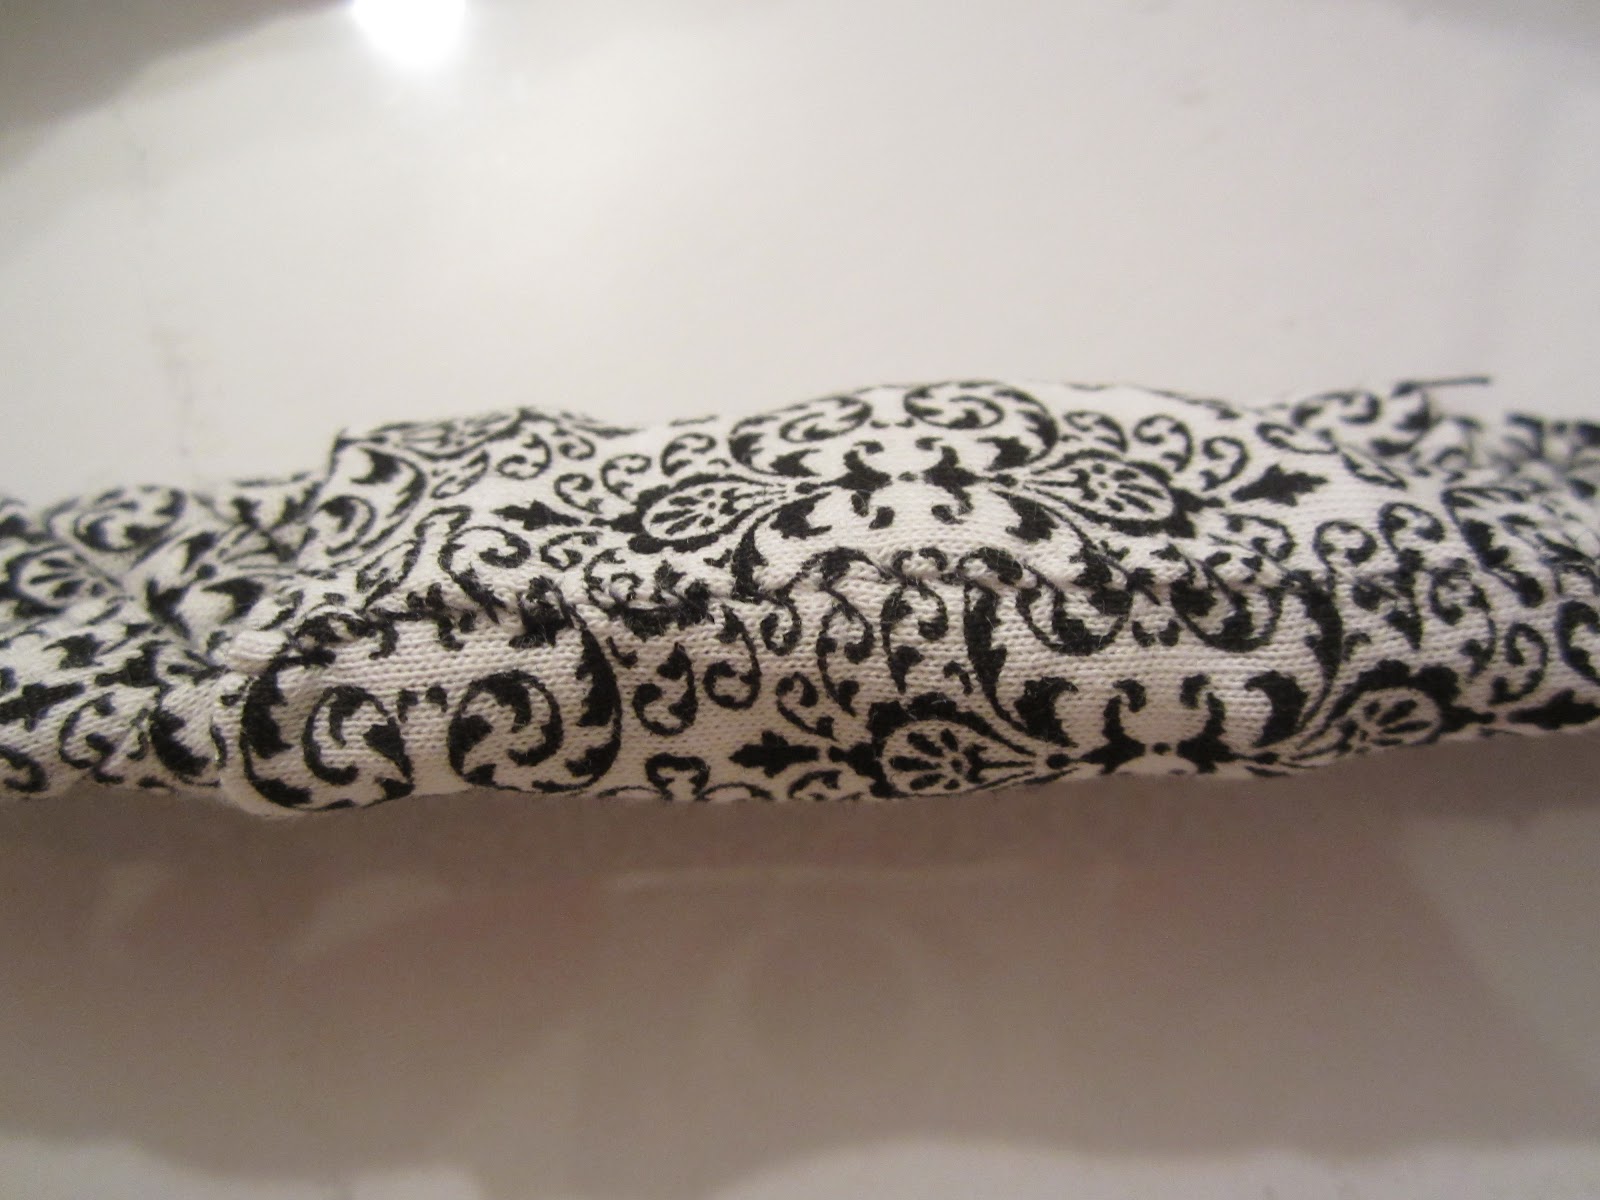
This blog is sort of an addendum to the DIY BEACH WRAP . Another easy project. The photos will show you how to braid, i promise this project looks complicated but it is really simple ;)
 
But if you think my step by step photo tutorial is confusing, check this Re-purposing: Tshirts into 5-strand-braided-headbands . This is were i got the idea and she got the perfect tutorial for this project.


I used the same fabric from the beach wrap project.


Nice huh? ;)


This is an extra fabric from the second beach wrap i made.


Friday, July 20, 2012

DIY BEACH WRAP

 
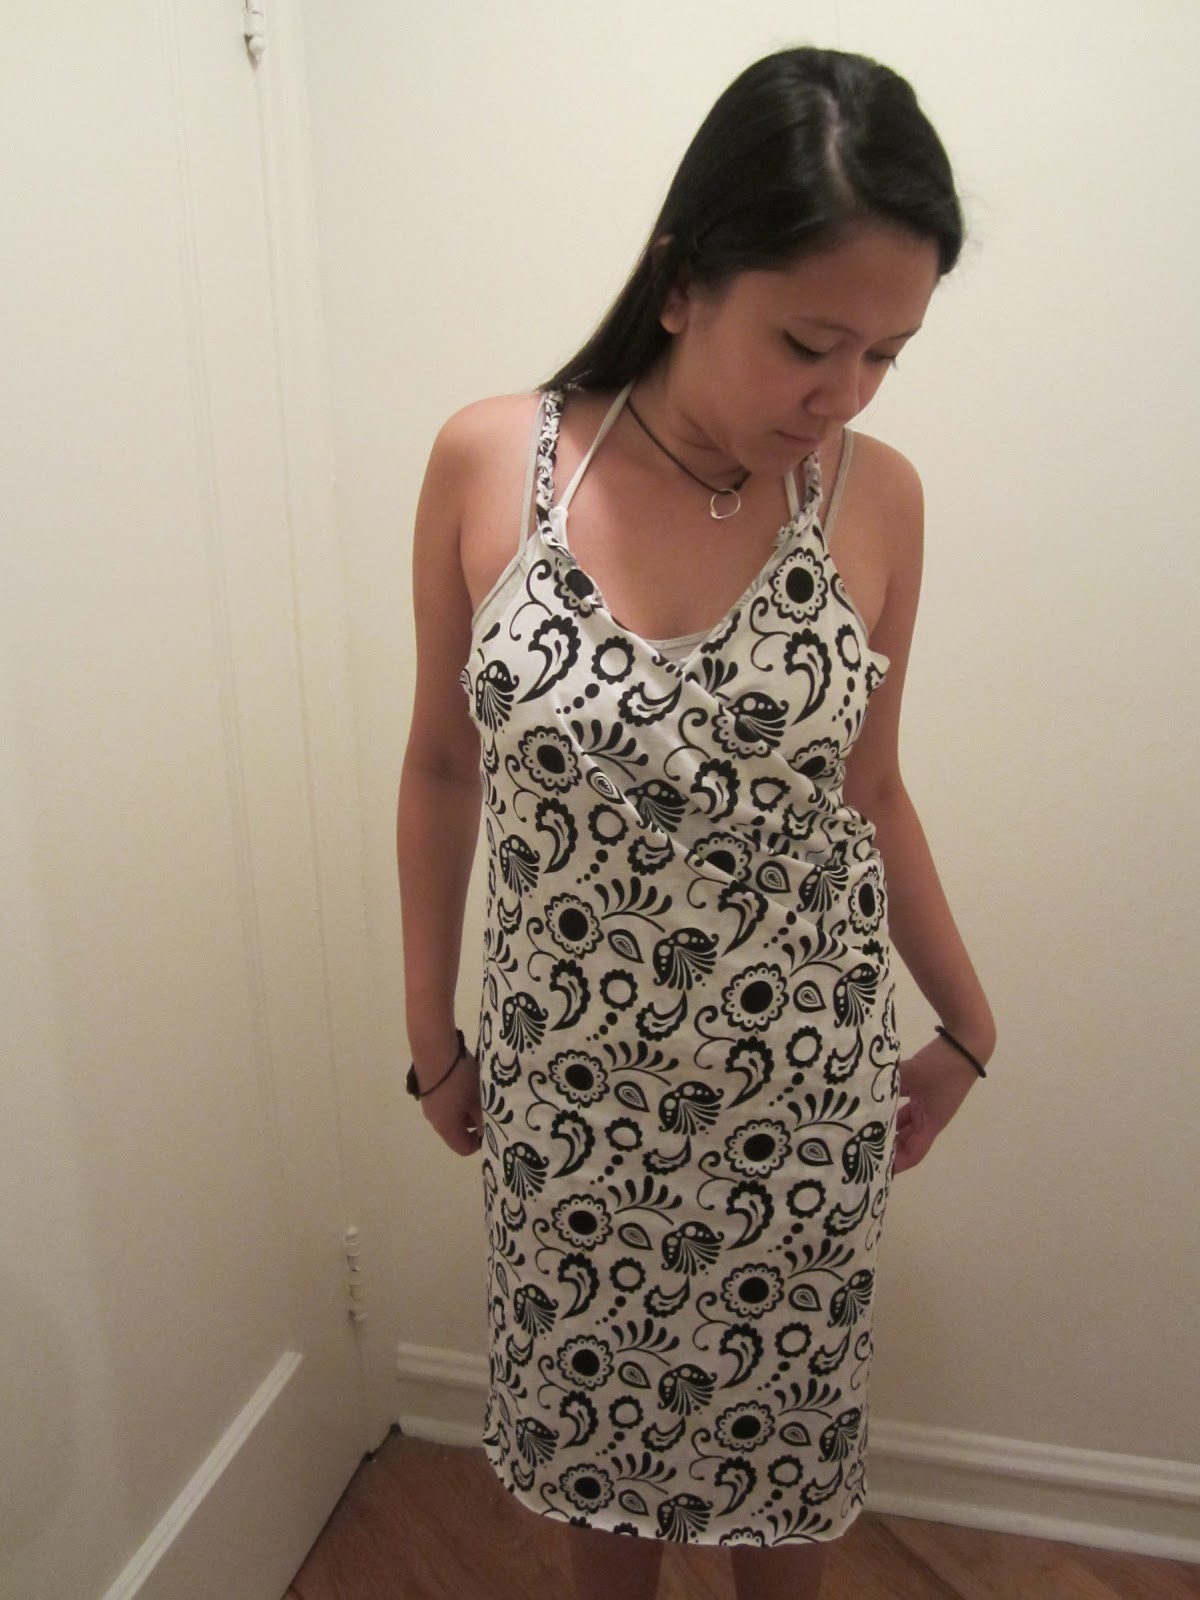
A pinterest project by Auna caught my attention. What a great project for my daughter! I fell in love with the project (i kid you not!). What is there not to love? It's cute, practical and so easy. No sewing machine needed...oh yes!!

Okay i take my word back, it wasn't so easy on my part. I don't know anything about measuring a "dress" let alone making this sans my daughter to actually measure. I had to base and follow Auna's measurement thinking that my daughter will fit into her measurements. Oh, i did asked a co-worker of mine to try it on so i will get an idea, where i need to adjust or fix.


Went to visit my daughter in Chicago, finally, she tried on my beach wrap and modeled it. The adjustments i had to make were the straps, it was too long on her. She wanted the length (above her knees) shorter as well but other than that.... it fit her to a Tee! ;)

I had extra fabric so i made her a headband to match the wrap. Of course i got the idea from pinterest!!! that'll be my next blog!

 I will be making another one, this time plain black. I bought this fabric on sale,thinking that if i didn't cut them right, i will not waste that much.


I love it... really love it! hahaha!!! 


The back view.


Materials you will need:

1 1/2 yards of jersey fabric (45 width). Cut down Auna's suggestion (1.75 yards) since she said she had so much extra fabric.
Thread
Needle
Tape measure
Scissors


*JERSEY FABRIC IS RECOMMENDED, IT DOESN'T FRAY, NO NEED TO SEW OR HEM THE EDGES.
* THE JERSEY FABRIC I BOUGHT WAS ON SALE FOR $4/YARD. I SPENT A TOTAL OF $8 INCLUDING TAX.


"Decide the length & width of your fabric. You want it to wrap around your body a bit loosely. I chose to have mine hit just above my knees. You'll also need to make underarm areas. I did that by folding it in half and cutting a deep "C". (*you may need more or less fabric depending on your size- about your waist + hip measurement)" ....AUNA


Cut: Underarm area - Fold fabric in half and cut a deep "C" shape. I suggest to measure the underarm area or use a tank top blouse as your guide.


 Use a tank top as a guide and measure to play safe.
This worked for me since she was not around when i made this.


 Use the extra fabric for your straps.


Measure the width and divide into three equal strips. Then braid.


THE NEXT THREE PHOTOS ARE FROM ANOTHER BEACH WRAP I MADE.
Sew the ends of the strap. Anchor a tip of the "strap" so you can make a good braid.


 Sew both ends to secure the braids you made.


Sew and attach the straps to the C cut (underarm)


Thursday, July 5, 2012

BANANA PEANUT BUTTER ICE CREAM MADE EASY

 Another Pinterest must try "goodness". Check Here for the original recipe .
Was so impressed with the end result. I can't believe an ice cream was made sans cooking or the ice cream maker and with only 2 ingredients. You can actually make the ice cream with just the banana but i opted to add peanut butter. Others add cocoa powder for variety.

You must give this a try!!!


 Banana Peanut Butter Ice Cream


Slice your very ripe bananas before putting them in the freezer. Pre-slicing them will make it easy to blend in your processor and saves you time.


Pulse until it will turn into a gravel like texture. Then gently mix them towards the middle so everything gets incorporated. I added 2 Tablespoon of peanut butter at this stage (gravel stage). Pulse and blend.


Pulse and blend until you get a soft serve ice cream texture.


Viola! Banana Peanut butter Ice cream!!!