A pinterest project by
Auna caught my attention. What a great project for my daughter! I fell in love with the project (i kid you not!). What is there not to love? It's cute, practical and so easy. No sewing machine needed...oh yes!!
Okay i take my word back, it wasn't so easy on my part. I don't know anything about measuring a "dress" let alone making this sans my daughter to actually measure. I had to base and follow Auna's measurement thinking that my daughter will fit into her measurements. Oh, i did asked a co-worker of mine to try it on so i will get an idea, where i need to adjust or fix.
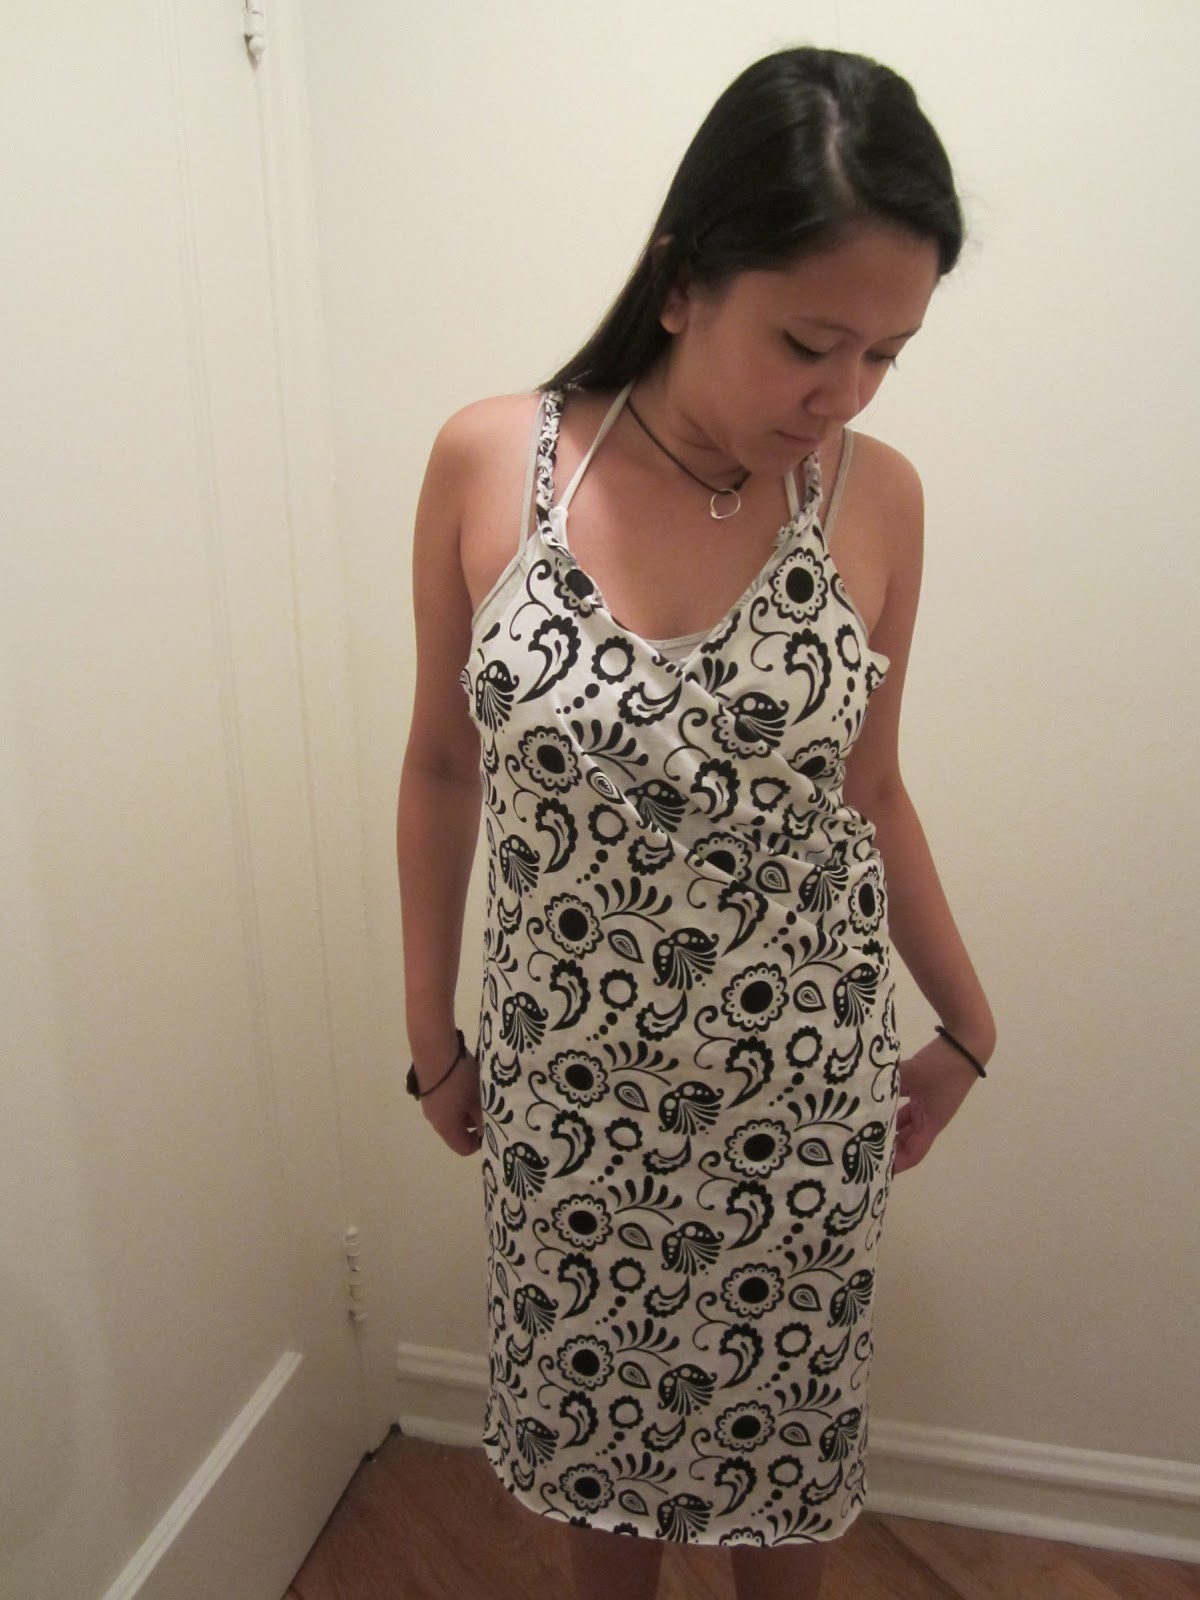
Went to visit my daughter in Chicago, finally, she tried on my beach wrap and modeled it. The adjustments i had to make were the straps, it was too long on her. She wanted the length (above her knees) shorter as well but other than that.... it fit her to a Tee! ;)
I had extra fabric so i made her a headband to match the wrap. Of course i got the idea from pinterest!!! that'll be my next blog!
I will be making another one, this time plain black. I bought this fabric on sale,thinking that if i didn't cut them right, i will not waste that much.
I love it... really love it! hahaha!!!
The back view.
Materials you will need:
1 1/2 yards of jersey fabric (45 width). Cut down Auna's suggestion (1.75 yards) since she said she had so much extra fabric.
Thread
Needle
Tape measure
Scissors
*JERSEY FABRIC IS RECOMMENDED, IT DOESN'T FRAY, NO NEED TO SEW OR HEM THE EDGES.
* THE JERSEY FABRIC I BOUGHT WAS ON SALE FOR $4/YARD. I SPENT A TOTAL OF $8 INCLUDING TAX.
"Decide the
length & width of your fabric. You want it to wrap around your body a
bit loosely. I chose to have mine hit just above my knees. You'll also
need to make underarm areas. I did that by folding it in half and
cutting a deep "C". (*you may need more or less fabric depending on your size- about your waist + hip measurement)" ....AUNA
Cut: Underarm area - Fold fabric in half and cut a deep "C" shape. I suggest to measure the underarm area or use a tank top blouse as your guide.
Use a tank top as a guide and measure to play safe.
This worked for me since she was not around when i made this.
Use the extra fabric for your straps.
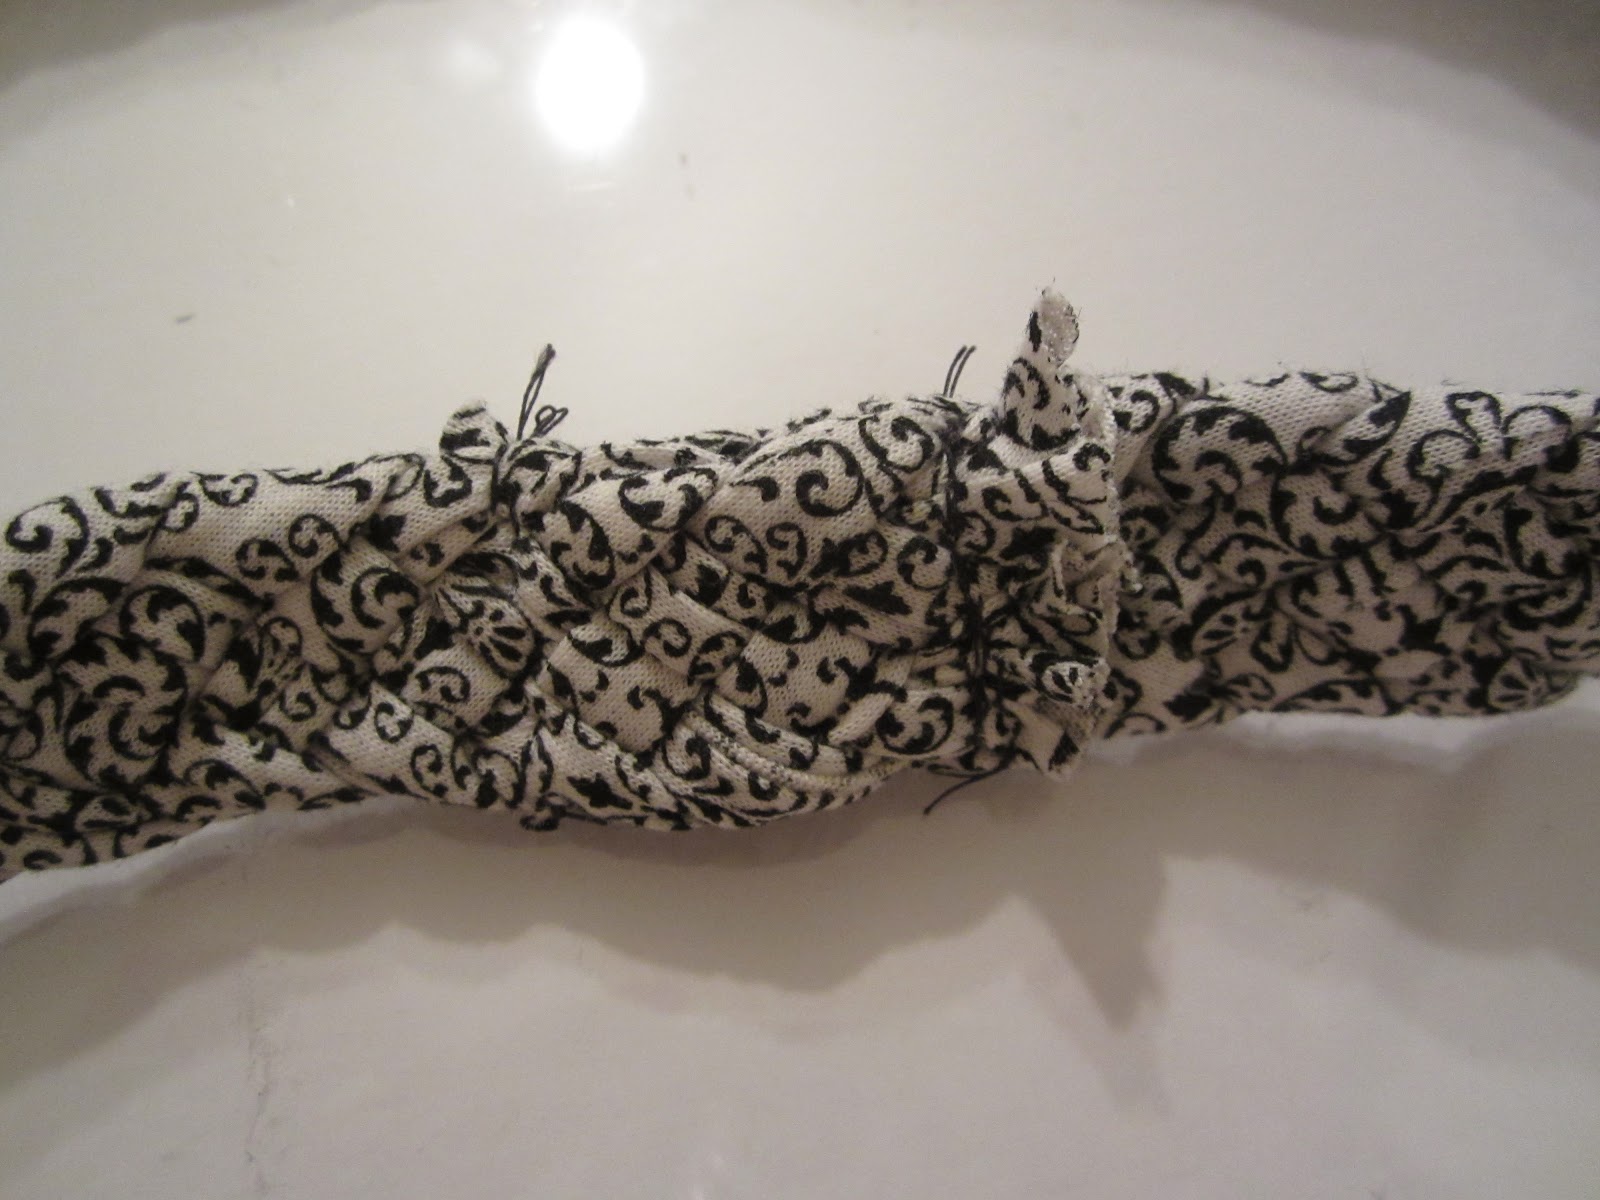
Measure the width and divide into three equal strips. Then braid.
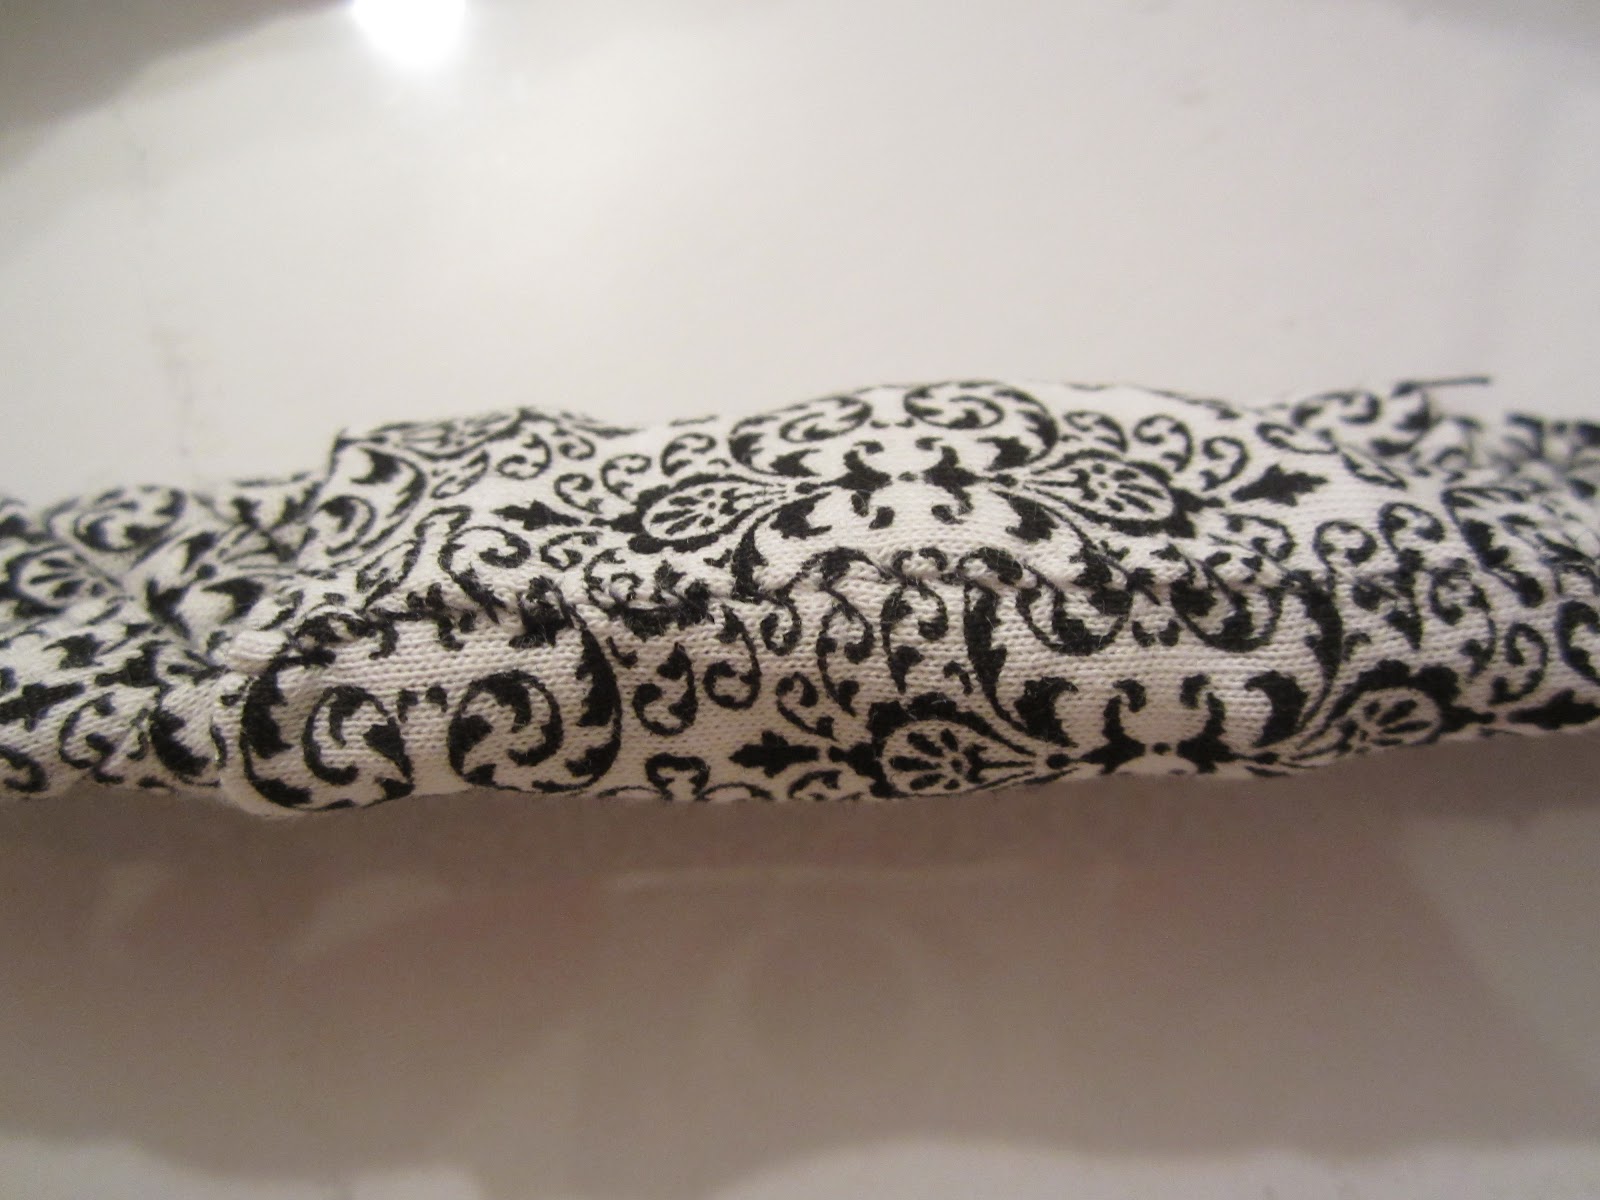
THE NEXT THREE PHOTOS ARE FROM ANOTHER BEACH WRAP I MADE.
Sew the ends of the strap. Anchor a tip of the "strap" so you can make a good braid.
Sew both ends to secure the braids you made.
Sew and attach the straps to the C cut (underarm)